On This Page
One of the most common things I hear from homeowners after we commission their system: "I wish I had known what to expect at each stage." The solar installation process involves multiple agencies — your installer, TANGEDCO, the national subsidy portal, equipment manufacturers — and understanding the sequence demystifies the timeline and prevents frustration.
This is the complete, unfiltered guide to how a residential solar installation in Tamil Nadu actually unfolds, from the first phone call to the day your net meter goes live.
Stage 1: Initial Consultation and Energy Audit
Typical duration: 1–2 days
Everything begins with understanding your energy consumption. A credible solar installer will never quote you a system size without first analysing your electricity bills.
What happens in this stage:
- Review of your last 12 months of electricity bills to identify monthly consumption patterns (summer peaks, monsoon dips)
- Discussion of your future load additions: EV charging, additional AC units, water heaters
- Understanding your financial goals: maximum self-consumption, subsidy optimisation, or grid export income
- Preliminary system size recommendation based on consumption, available roof space, and budget
What you should provide: Your last 3–4 electricity bills and approximate roof area (a rough floor plan or Google Maps screenshot helps).
Red flag: Any installer who quotes a system without asking about your bills is guessing.
Stage 2: Site Assessment
Typical duration: Half day to 1 day on-site
A physical visit to your property by a qualified solar engineer is non-negotiable. No remote assessment using satellite images alone can replace this.
Roof Survey
- Measurement of available roof area and orientation (south-facing surfaces are optimal in Tamil Nadu; east-west configurations work well for flatter generation curves)
- Roof material assessment: RCC terrace, Mangalore tiles, metal sheets, or tin — each requires different mounting approaches
- Structural load calculation: Solar panels plus mounting structure typically add 15–25 kg/m² to your roof; older structures may need reinforcement
Shading Analysis
- Using tools like SunEye, Solar Pathfinder, or digital shading software, the engineer maps shadows from adjacent buildings, water tanks, trees, and chimneys across different hours and seasons
- Shading is the single biggest efficiency killer in urban Indian rooftops — even 10% shading on one panel can reduce a string's output by 30–40% with conventional string inverters
Electrical Assessment
- Location of your main distribution board (DB) and existing wiring condition
- Phase of supply (single-phase 230V or three-phase 415V) determines maximum inverter capacity
- Earthing continuity test of existing system — poor earthing is extremely common in older Tamil Nadu buildings and must be remediated before solar installation
Single-Line Diagram (SLD)
The engineer prepares a preliminary Single-Line Diagram showing panel array configuration, inverter placement, AC/DC cable routing, protection devices (MCBs, SPDs, fuses), earthing, and grid connection point. This document is required for TANGEDCO application.
Stage 3: System Design and Proposal
Typical duration: 2–3 days
Using site survey data, your installer prepares:
- Final system design: Panel wattage and count, inverter make and model, mounting structure type, cable sizing calculations
- Generation estimate: Using PVGIS or PVSyst simulation with local irradiation data for your district — expressed as units per day and annually
- Financial analysis: Total cost, applicable subsidies (PM Surya Ghar Yojana), payback period, 25-year savings projection
- Equipment specifications: Datasheets for all major components
Review this proposal carefully. Ask about panel efficiency, inverter warranty, and the basis for generation estimates. A reputable installer uses actual local irradiation data, not national averages.
Stage 4: TANGEDCO/DISCOM Application
Typical duration: 7–30 days depending on feeder load
Before any installation work begins, the grid connection must be formally applied for. This step is often the longest and most bureaucratic part of the process.
Net Meter Application
Your installer submits an application to the relevant TANGEDCO subdivision office with:
- Completed application form (Form A or equivalent as per Tamil Nadu Solar Policy)
- Single-Line Diagram signed by a licensed electrical contractor
- Copy of your electricity bill
- Property ownership proof
- Technical specifications of panels and inverter
Technical Feasibility Assessment
TANGEDCO engineers evaluate whether the distribution transformer serving your area has sufficient capacity to accept solar export. In congested feeders with high existing solar penetration, this can be the bottleneck. Typical response: 7–15 working days in urban areas; up to 30 days in rural subdivisions.
Feasibility Approval
Upon approval, TANGEDCO issues a feasibility letter specifying approved capacity. Installation must not begin before this letter is received — particularly if you are applying for PM Surya Ghar Yojana subsidy, as pre-installation voids the subsidy.
Stage 5: Procurement
Typical duration: 3–7 days after approval
With approvals in hand, your installer procures equipment. Quality installers source panels and inverters from authorised distributors with verifiable batch documentation. Key items:
- Solar panels: Verify serial numbers and check manufacturer warranty card registration
- Inverter: Confirm model matches approval; check anti-islanding certification (CEA 2019 compliant)
- Mounting structure: Hot-dip galvanised steel (HDG) or aluminium; confirm gauge and wind load rating for your district (cyclone zones near Tamil Nadu coast require higher wind ratings)
- DC cables: 4mm² or 6mm² twin-core DC solar cable (TUV rated, UV resistant)
- AC cables, MCBs, SPDs, earthing materials
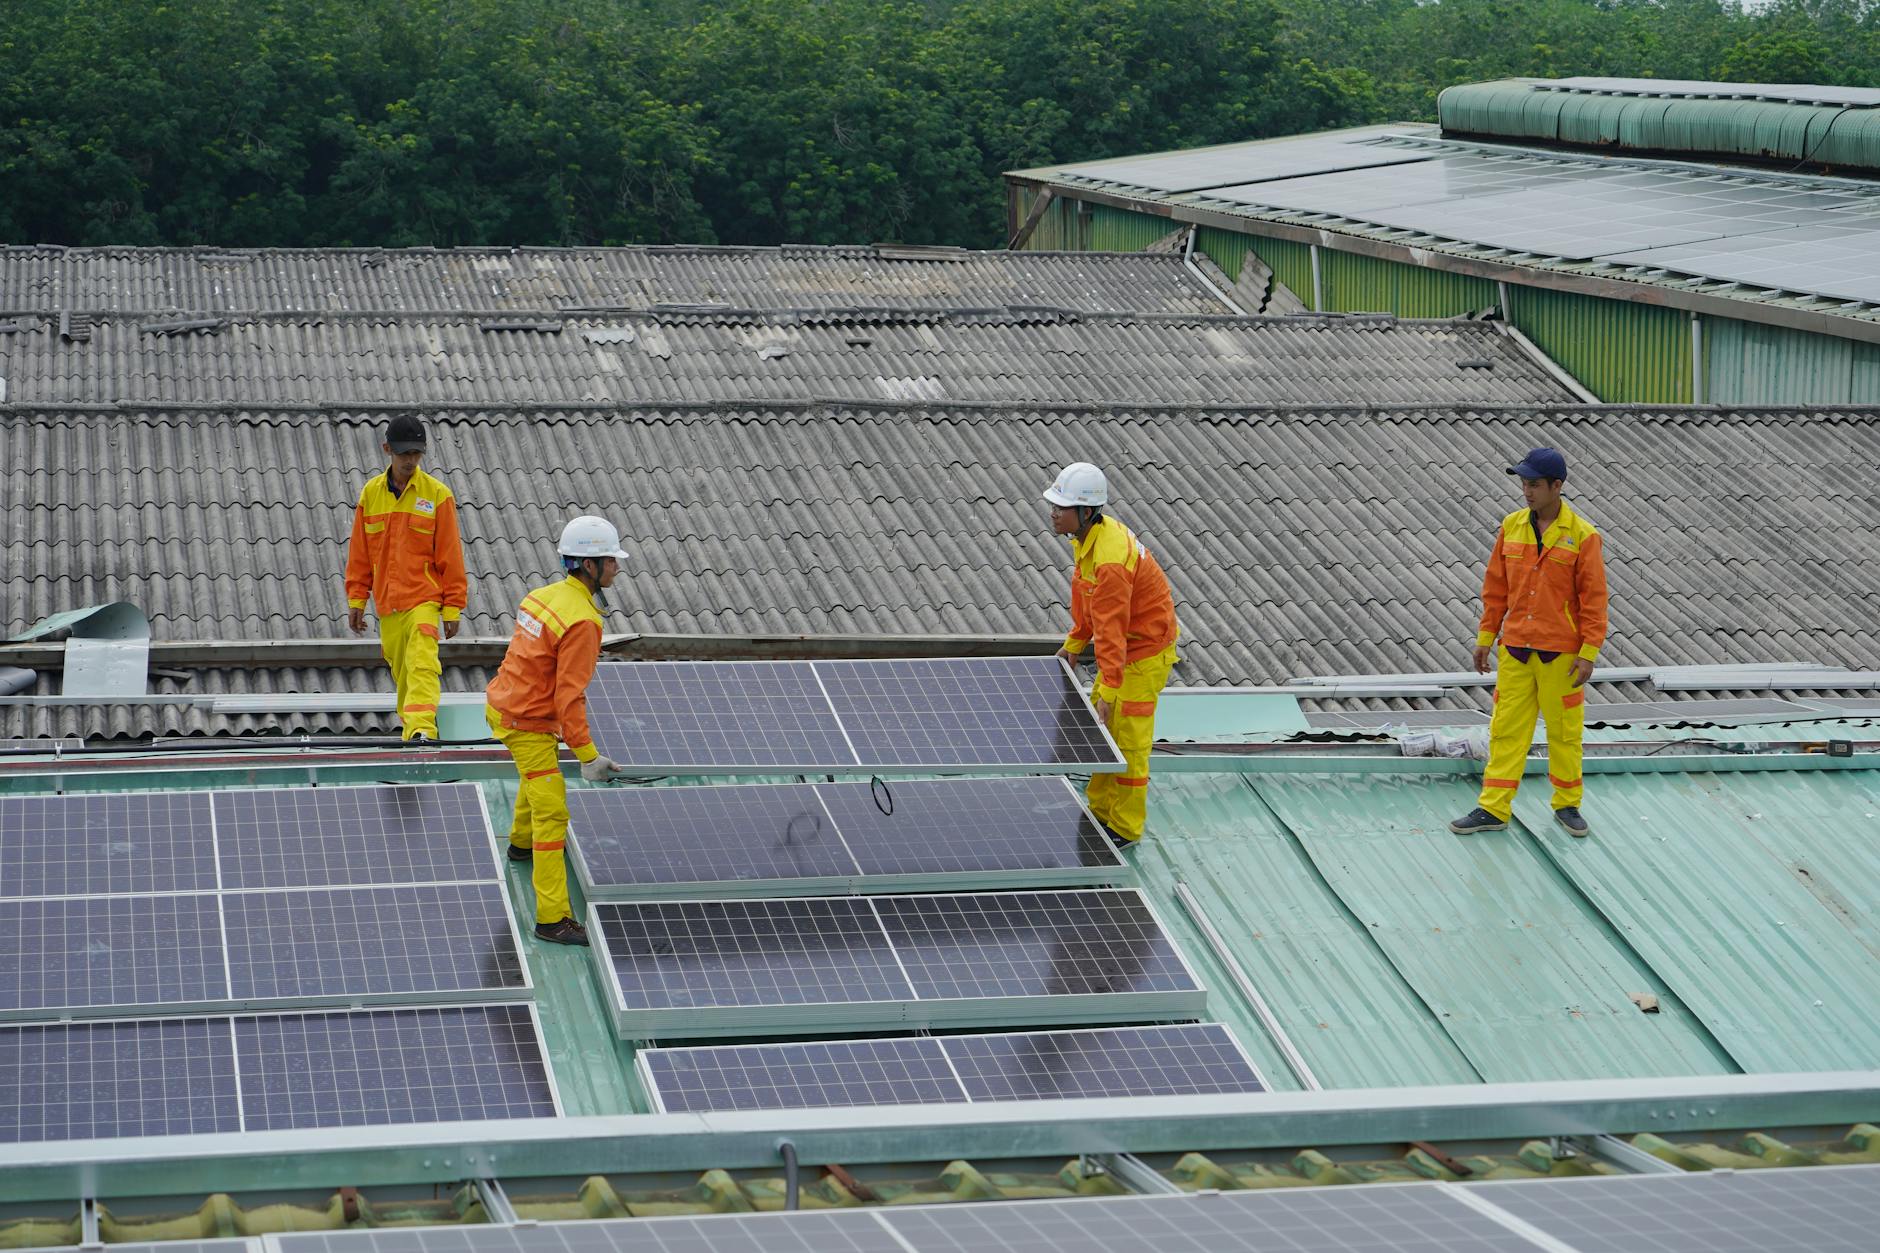
Stage 6: Installation Day
Typical duration: 1–3 days depending on system size
Morning: Mounting Structure Erection
The structural team installs rails and clamps on the roof. For RCC terraces, chemical anchors are drilled and resin-bonded into the slab — no welding on waterproofed surfaces. For Mangalore tile roofs, hook-mount systems preserve tile integrity.
Panel Placement and Cabling
Panels are placed into the mounting framework and secured. DC cables are run in conduit from the array to the inverter location (ideally shaded, well-ventilated, and within 10m of the DB). All DC connections are made using MC4 connectors — these must be properly seated and tested for continuity before energising.
Inverter Installation
The inverter is wall-mounted, typically indoors or under roof shade to prevent thermal derating. AC isolators, surge protection devices (SPDs on both DC and AC sides), and the main AC MCB are installed and wired into your DB.
Earthing
A dedicated earth electrode (copper-bonded rod or plate) is installed and bonded to the panel frame, inverter chassis, and your building's existing earth system. Earth resistance must measure below 5 ohms — we test this with an earth resistance tester before commissioning.
Stage 7: Testing and Commissioning
Typical duration: Half day
This stage is critical and should never be rushed.
IV Curve Testing
Using a solar analyser, each string's I-V (Current-Voltage) curve is traced and compared against the expected curve from panel datasheets. Deviations indicate mismatched panels, poor connections, or shading issues.
Insulation Resistance (IR) Testing
A 500V DC insulation resistance test is performed on all DC cables to confirm no insulation breakdown. Target: greater than 1 MΩ on any conductor-to-earth measurement.
Earthing Continuity
Continuity between all panel frames, inverter chassis, and earth electrode is verified. Earth resistance is measured and recorded.
Inverter Commissioning
The inverter is powered up, connected to the grid, and configured. Key settings: grid frequency limits (49.0–51.5 Hz as per CEA), voltage limits, anti-islanding protection, and monitoring connectivity (WiFi/LAN for data logging).
System Handover Documentation
You receive: commissioning report, test results, inverter manuals, warranty cards, panel serial numbers, and emergency shutdown procedure.
Stage 8: Net Meter Installation by TANGEDCO
Typical duration: 15–45 days after installation
Your installer submits the installation completion report with photographs to TANGEDCO. A TANGEDCO JE (Junior Engineer) visits to inspect and verify the installation. If satisfied, TANGEDCO replaces your existing single-direction meter with a bidirectional net energy meter that records both import (from grid) and export (to grid) separately.
What to do if there is a delay: Follow up at the subdivision office with your application acknowledgment number. Escalate to the Assistant Executive Engineer if no response after 30 days.
Stage 9: Subsidy Application (PM Surya Ghar Yojana)
Typical duration: 30–60 days for disbursal
Once the net meter commissioning certificate is in hand, your installer uploads it to pmsuryaghar.gov.in. The Central Financial Assistance is processed by MNRE and credited directly to your Aadhaar-linked bank account. No further action is required from your side — just verify the bank details are correct in the portal.
Stage 10: System Handover and Monitoring Setup
Typical duration: 1–2 hours on-site
Your installer configures the monitoring app on your smartphone — most modern inverters (Growatt, Solis, Huawei, SMA) have dedicated apps that show real-time generation, historical data, and fault alerts.
Walk through the system with your installer and confirm you understand:
- How to read your net meter
- The emergency DC isolator and AC isolator locations
- What to do if the inverter shows a fault code
- Scheduled maintenance requirements
Complete Timeline Summary
| Stage | Duration |
|---|---|
| Site assessment and proposal | 3–5 days |
| TANGEDCO feasibility application | 7–30 days |
| Procurement | 3–7 days |
| Installation | 1–3 days |
| Testing and commissioning | 1 day |
| TANGEDCO net meter installation | 15–45 days |
| Subsidy disbursal | 30–60 days |
| Total (first generation to subsidy in account) | 60–150 days |
The variability is almost entirely in the TANGEDCO and subsidy portal stages — not in the installation itself. An experienced installer manages these stages proactively and keeps you informed throughout.
Planning your solar installation in Tamil Nadu? Tristar Green Energy Solutions in Coimbatore manages every stage of this process — from the first energy audit through TANGEDCO coordination and subsidy disbursal. We have completed this process hundreds of times across Tamil Nadu and know exactly how to keep your project moving. Contact us for a free site assessment.
Ready to Go Solar?
Get a personalized solar quote based on your electricity consumption and roof area.
Related Articles
Rooftop Solar: Ground Mount vs Rooftop Installation
Compare ground-mounted and rooftop solar installations to determine the best option for your property.
Best Time to Install Solar in Tamil Nadu
Discover the optimal seasons and conditions for installing solar panels in Tamil Nadu.
How to Read Your Solar Inverter Display: Understanding Every Parameter
A complete guide to understanding every parameter on your solar inverter display — from daily yield and total generation to voltage, frequency, and error indicators.