On This Page
A solar system is one of the few investments that generates returns for 25 years or more. But like any long-term asset, its performance over that quarter century depends on how well it is maintained. The difference between a well-maintained system and a neglected one is not trivial — studies consistently show that proper maintenance improves cumulative energy generation by 15-20% over the system's lifetime.
In Tamil Nadu's climate — with its combination of intense summer heat, monsoon rains, coastal humidity, and dust — maintenance is particularly important. A panel covered in a thin layer of dust loses 10-15% of its output. A loose cable connection can cascade into an inverter fault. A corroded mounting bolt can compromise structural integrity during cyclone-season winds.
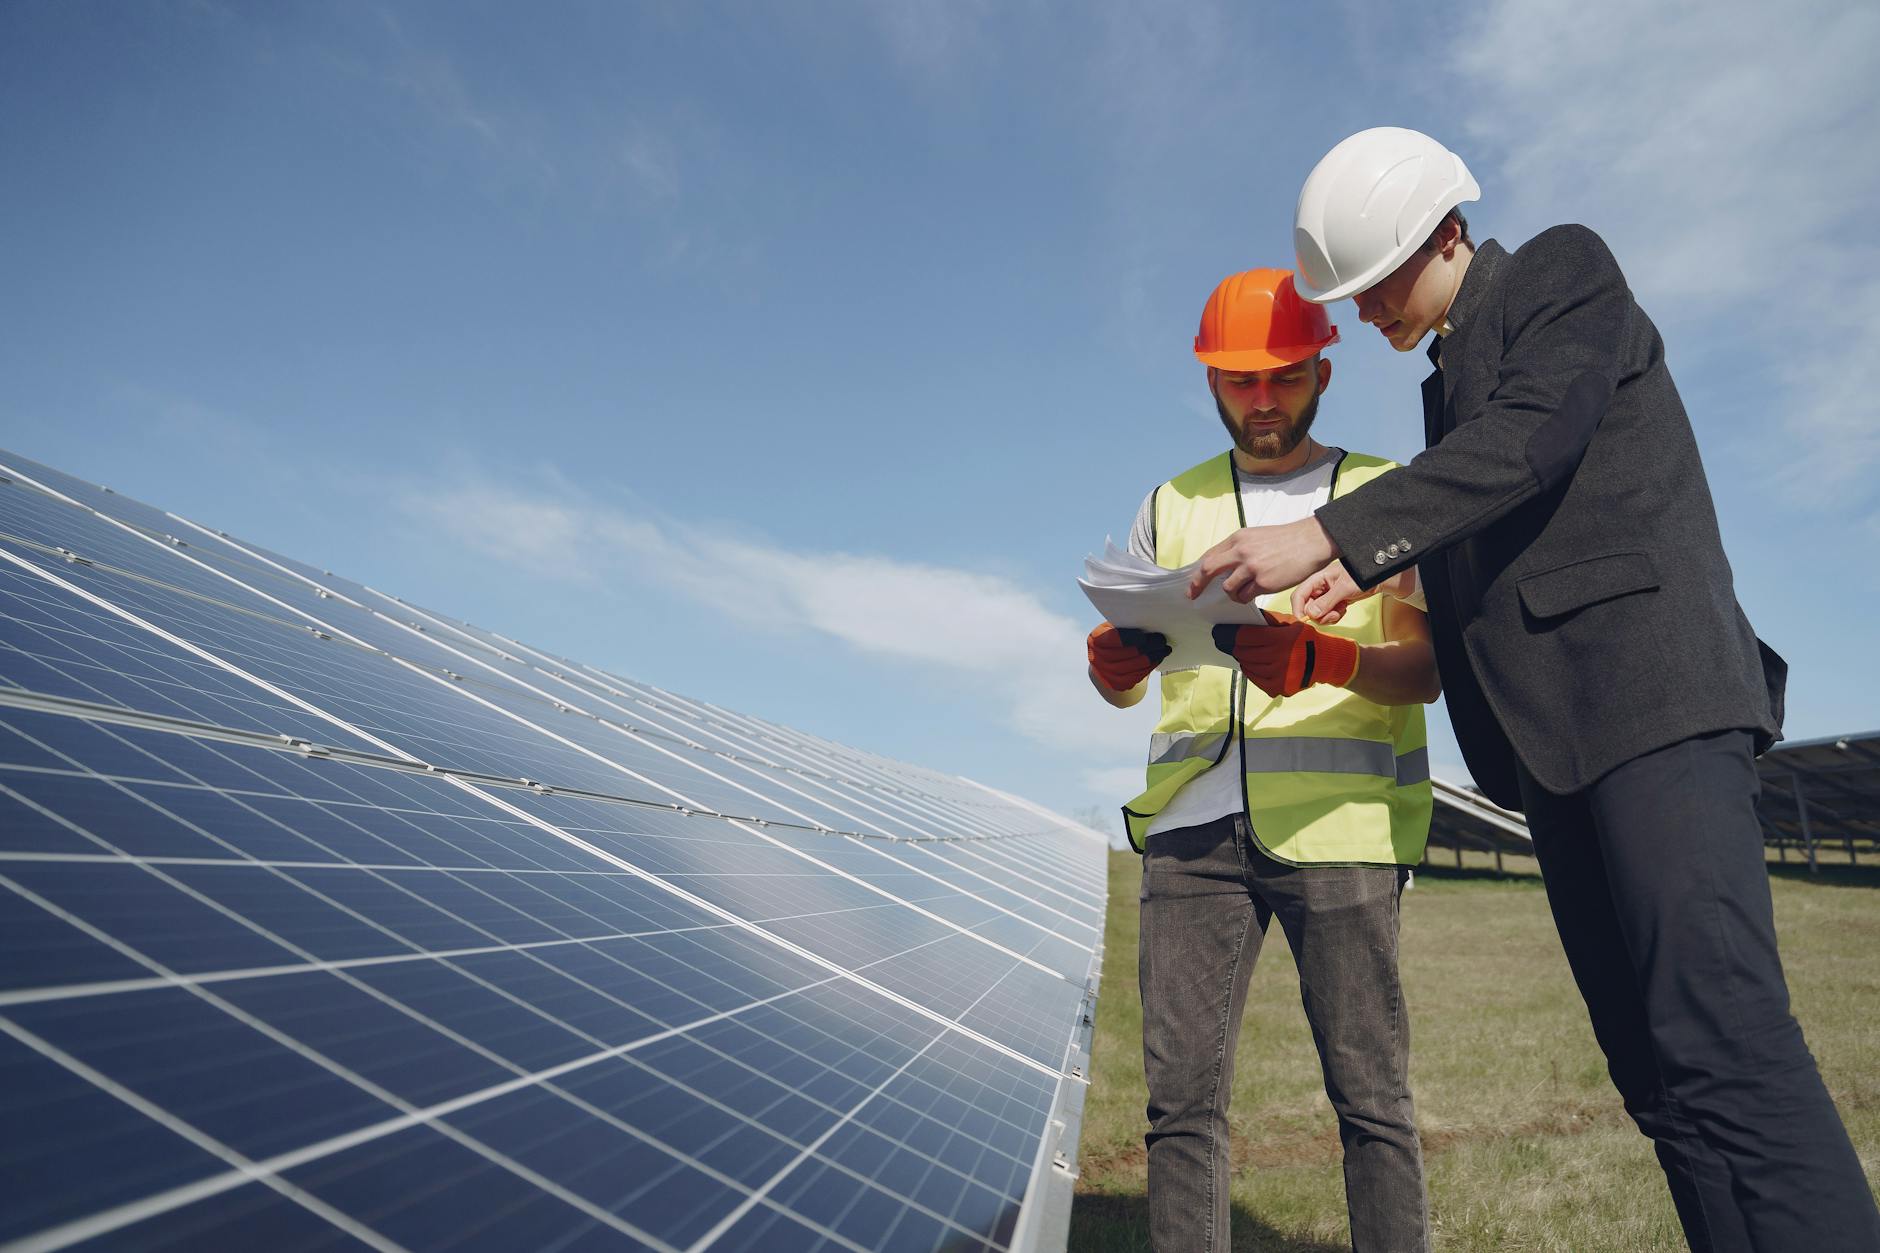
At Tristar, we have maintained hundreds of solar installations across Tamil Nadu since 2013. Over that decade-plus of experience, we have developed a structured maintenance framework — monthly, quarterly, and annual tasks — that keeps systems performing at their peak. This guide shares that framework so you can apply it to your own system, whether installed by Tristar or any other vendor.
Monthly Tasks (5 Minutes)
These quick checks require no tools, no technical expertise, and no roof access. They take less than 5 minutes and should become as routine as checking your car's fuel gauge.
1. Check Generation on Your Inverter App
Every modern solar inverter comes with a monitoring app (Growatt ShinePhone, Sungrow iSolarCloud, Huawei FusionSolar, etc.) that shows daily and monthly generation data.
What to check:
- Daily generation: Is today's generation in the expected range for the season?
- Monthly total: Compare against the same month last year. Is it within 10%?
- Error alerts: Any fault codes or warnings displayed?
Expected generation ranges for Tamil Nadu (per kW of installed capacity):
| Month | Expected Daily Generation (kWh/kW) |
|---|---|
| January | 3.8-4.2 |
| February | 4.2-4.6 |
| March | 4.5-5.0 |
| April | 4.8-5.3 |
| May | 4.5-5.0 |
| June | 4.0-4.5 |
| July | 3.8-4.3 |
| August | 4.0-4.5 |
| September | 4.2-4.6 |
| October | 3.5-4.0 |
| November | 3.0-3.5 |
| December | 3.5-4.0 |
If your generation is consistently 20% or more below these ranges, something needs attention.
Time required: 2 minutes on your phone.
2. Visual Inspection for Bird Droppings and Debris
If your panels are visible from the ground or a window, do a quick visual check. You are looking for:
- Bird droppings: Particularly common if there are overhead wires, trees, or structures where birds perch. A single large bird dropping can shade an entire cell and reduce that panel's output significantly.
- Leaves and debris: Especially after windy days or storms
- Nesting: Birds sometimes attempt to nest under panels. This can cause wiring damage and is a fire risk.
Action: If you spot significant soiling, schedule a cleaning (see quarterly tasks).
Time required: 1 minute of observation.
3. Monitor for Unusual Sounds
A healthy solar system is virtually silent. The inverter may produce a low hum during operation (completely normal), but any of the following sounds indicate a problem:
- Buzzing or crackling from the inverter: May indicate a failing capacitor or loose connection
- Rattling from the roof: Loose mounting clamps or panels vibrating in the wind
- Clicking sounds: Relay or contactor issues in the inverter or distribution board
Action: If you hear anything unusual, contact your installer or a qualified solar technician.
Time required: 2 minutes of listening near the inverter.
Quarterly Tasks (30 Minutes)
Every three months, allocate 30 minutes for a more thorough check. Some of these tasks require roof access, so follow all safety precautions — non-slip footwear, work during early morning or late afternoon (panels are hot at midday), and never work on the roof alone.
1. Panel Cleaning
This is the single most impactful maintenance task for Tamil Nadu installations. Dust, pollution, bird droppings, and pollen accumulate on panels and directly reduce output.
Cleaning method:
-
Time: Clean in early morning (6-7 AM) or late evening when panels are cool. Spraying cold water on hot panels can cause thermal stress and micro-cracks.
-
Water: Use clean, soft water. Avoid hard water or borewell water — mineral deposits leave white residue that is harder to clean than the original dust. If only hard water is available, use a water softener or RO-treated water.
-
Equipment:
- Soft sponge or microfibre cloth on an extension pole
- Garden hose with gentle spray (not high-pressure)
- Squeegee for final wipe (optional)
-
Technique:
- Wet the panels thoroughly with the hose
- Gently wipe with the sponge/cloth using horizontal strokes
- Rinse with clean water
- Allow to air dry or use a squeegee
-
Never use:
- Abrasive scrubbers, steel wool, or rough brushes
- Harsh chemicals, detergents, or solvents
- High-pressure washers (can damage anti-reflective coating)
- Dry wiping (scratches the glass surface)
Frequency in Tamil Nadu: Every 3 months minimum. In dusty industrial areas, construction zones, or near main roads — every 6-8 weeks.
2. Check for Hotspots
Hotspots are localised areas of overheating on a solar panel, typically caused by:
- Shading on one cell (bird droppings, leaf, shadow from new construction)
- A defective cell within the panel
- Poor soldering during manufacturing
Visual check method:
- Visit the rooftop during peak sun (11 AM - 2 PM)
- Carefully touch the back of each panel (use the back of your hand, not your palm — if it is dangerously hot, you will pull away instinctively)
- A panel that is significantly hotter than its neighbours may have a hotspot
- Look for any discolouration (brown or yellow spots) on the panel face
Important: This visual method identifies severe hotspots only. For a comprehensive check, thermal imaging (infrared camera) during the annual inspection is essential.
3. Verify Mounting Bolt Tightness
Over time, thermal expansion/contraction cycles and wind vibration can loosen mounting bolts. Loose bolts allow panels to shift, creating gaps that increase wind load and potentially damage panels.
What to check:
- Mid-clamps and end-clamps securing panels to rails
- Rail-to-bracket bolts
- Bracket-to-roof anchor bolts
- Any visible movement or play when panels are gently pushed
Tool: Standard socket wrench or adjustable spanner. Do not over-tighten — snug is sufficient.
4. Check Cable Conduit Integrity
All DC and AC cables should be enclosed in conduit (PVC pipe or flexible conduit) to protect against UV degradation, rodent damage, and water ingress.
What to check:
- Conduit sections still connected with no gaps
- No visible cable exposure between panels and inverter
- No signs of rodent gnawing (common in rural installations)
- Cable ties and clips still holding cables securely
- No pooling water near cable entry/exit points
Annual Tasks (Professional Inspection)
Once a year, engage a qualified solar technician or your installer for a comprehensive professional inspection. This inspection requires specialised equipment and expertise that goes beyond what a homeowner or facility manager can do.
1. Thermal Imaging Scan
What it is: An infrared (IR) camera scans each panel to detect temperature anomalies invisible to the naked eye.
What it detects:
- Hotspots from defective cells
- Bypass diode failures
- Poor string connections causing uneven current flow
- Delamination (moisture ingress between cell layers)
- Snail trails (moisture-related degradation along cell cracks)
When to do it: During peak sun hours (11 AM - 2 PM) when temperature differentials are most visible.
Expected result: All cells within a panel should show uniform temperature (within 5-10 degrees C). Any cell showing 20 degrees C or more above neighbours indicates a defect requiring attention.
2. I-V Curve Testing
What it is: The I-V (Current-Voltage) curve test measures each panel's actual electrical performance against its rated specifications.
What it detects:
- Degradation beyond normal aging (panels should degrade no more than 0.5-0.7% per year)
- Mismatch between panels in a string
- Potential-induced degradation (PID)
- Cell cracking that affects electrical output
Equipment required: Solar I-V curve tracer (specialised instrument)
Expected result: Panel output should be within 5% of the age-adjusted rated output. For example, a 540W panel after 5 years should produce at least 540 x 0.975 (2.5% degradation at 0.5%/year) = 526W under standard test conditions.
3. Earth Resistance Measurement
What it is: Measures the resistance of the system's earthing (grounding) to ensure it can safely dissipate fault currents and lightning strikes.
Why it matters: Poor earthing is a safety hazard. It can also damage inverters and cause nuisance tripping.
Equipment required: Earth resistance tester (megger)
Expected result: Earth resistance should be below 5 ohms (MNRE recommendation). Values above 10 ohms indicate the earthing system needs maintenance — typically re-watering the earth pit or adding earthing compounds.
4. Inverter Health Check
What to check:
- All error logs and fault history for the past year
- Fan operation (inverter fans should spin freely without noise)
- Heat sink condition (no dust blockage of ventilation)
- Surge protection device (SPD) status indicators
- DC and AC isolation switch operation
- Inverter firmware version (update if available)
- WiFi/LAN connectivity for monitoring
Inverter environment:
- Ensure adequate ventilation around the inverter
- No direct sunlight on the inverter body
- No water exposure or excessive humidity
- Ambient temperature within the inverter's rated operating range
5. DC and AC Cable Insulation Test
What it is: A megger (insulation resistance) test checks that cable insulation has not degraded, which could lead to electrical leakage, short circuits, or fire.
Equipment required: 1000V DC insulation resistance tester
Expected result: Insulation resistance should be above 1 megaohm per 1000V of system voltage. For a 600V DC system, the minimum acceptable insulation resistance is 600 kilohms, though values above 2 megaohms are preferred.
Cables to test:
- DC string cables (panel to inverter)
- DC main cables
- AC output cables (inverter to distribution board)
- Earthing conductors
6. Mounting Structure Corrosion Check
What to check:
- Galvanization integrity on all steel components
- Rust spots, especially at bolt connections and cut edges
- Aluminium component condition (look for white powdery corrosion)
- Weld points (if any)
- Roof anchor points
Critical for: Coastal installations (within 50 km of the coast) where salt spray accelerates corrosion. In these areas, hot-dip galvanized steel or marine-grade aluminium is essential.
Action for minor rust: Wire brush the affected area, apply zinc-rich cold galvanizing paint. For significant corrosion, the component should be replaced.
7. Earthing System Verification
Beyond the resistance test, physically inspect:
- Earth pit cover is intact and accessible
- Earth pit is not dry (add water if needed — earth pits should be moistened periodically)
- Earth conductor (green/yellow wire) is securely connected at all points
- Lightning arrestor is intact and properly connected
- Earth bus bar connections are tight and corrosion-free
8. Performance Ratio Calculation
What it is: The Performance Ratio (PR) is the industry-standard metric for evaluating how well a solar system is performing relative to its theoretical maximum.
Formula:
PR = (Actual Energy Output) / (Reference Energy Output) x 100%
Where Reference Energy Output = Installed capacity (kWp) x Plane of Array irradiation (kWh/m2) x Panel area
Simplified method: Compare your system's actual annual generation against the expected generation for your location and system size.
Expected PR for Tamil Nadu:
- Year 1: 78-82%
- Year 5: 75-80%
- Year 10: 72-77%
- Year 15: 68-74%
- Year 20: 65-70%
- Year 25: 62-67%
A PR significantly below these benchmarks indicates a system issue requiring diagnosis.
Seasonal Tips for Tamil Nadu
Tamil Nadu's unique climate — with two monsoons, intense summers, and significant regional variation — demands season-specific maintenance attention.
Pre-Monsoon Preparation (October)
The northeast monsoon (October-December) brings heavy rains and potentially cyclonic winds to Tamil Nadu. Prepare your system before it arrives.
Checklist:
- Tighten all mounting clamps and bolts to manufacturer-specified torque
- Clear any debris that could become projectiles in high winds
- Ensure drainage channels around the array are clear
- Verify that cable conduits are sealed against water ingress
- Check that the inverter enclosure is water-tight (especially for outdoor installations)
- Clean panels before the monsoon — a clean surface sheds water more effectively
- Verify lightning arrestor connections
- Back up inverter monitoring data and settings
For coastal installations (Chennai, Cuddalore, Nagapattinam, Ramanathapuram, Thoothukudi):
- Apply anti-corrosion spray on all exposed metal connections
- Inspect and tighten all stainless steel fasteners
- Verify structure wind-load rating is adequate for cyclonic conditions
Post-Monsoon Cleanup (December)
After the monsoon, a thorough cleanup restores performance lost during the rainy season.
Checklist:
- Clean all panels — monsoon leaves mineral deposits and organic debris
- Inspect for water pooling on or around panels
- Check for any structural damage from wind or falling objects
- Verify all cable connections (water ingress can cause corrosion at terminals)
- Check inverter for any moisture-related errors in the fault log
- Inspect earth pit — monsoon rains may have improved or disturbed earthing
- Remove any bird nests built during the monsoon period
- Verify net meter readings match inverter generation data
Summer Optimization (March-May)
Summer is peak generation season in Tamil Nadu, with the highest solar irradiance. Maximise capture during these valuable months.
Checklist:
- Clean panels at the start of March for peak performance
- Ensure inverter ventilation is not blocked (inverters work hardest in summer heat)
- Check for new shading from growing trees or recent construction
- Monitor for inverter derating — if the inverter reduces output due to overheating, improve ventilation
- Verify that the monitoring system is accurately recording peak generation
- Compare generation data against expected values — any shortfall is most visible during sunny months
When to Call Your Installer
While routine maintenance can be handled by the system owner, certain situations require professional attention. Call your installer immediately if you observe:
Urgent (Same-Day Response Needed)
- Inverter shows a ground fault or insulation fault: This is a safety issue. Switch off the system and call immediately.
- Burning smell from the inverter or junction box: Switch off the AC and DC isolators immediately. Do not attempt to diagnose.
- Visible damage to panels: Cracked glass, burn marks, or physical deformation.
- Water ingress into the inverter: Switch off and do not operate until inspected.
- Sparking at any connection point: Switch off all isolators immediately.
Non-Urgent (Schedule Within a Week)
- Consistent generation drop of more than 20% without obvious cause (not weather-related)
- Inverter error codes that persist after reset
- Loose panels or audible rattling in wind
- Visible corrosion on mounting structure
- Net meter showing incorrect readings
- Monitoring system offline for more than 48 hours
Scheduled (Next Maintenance Window)
- Annual professional inspection due
- Panel cleaning beyond your comfort level (steep roofs, large commercial arrays)
- Inverter firmware update available
- Battery health check (for hybrid/off-grid systems)
- Warranty claim documentation needed
AMC (Annual Maintenance Contract) Benefits
An Annual Maintenance Contract with your installer provides structured, professional maintenance at a predictable cost. Here is what a comprehensive AMC typically includes:
Standard AMC Coverage
| Service | Frequency | Included |
|---|---|---|
| Panel cleaning | Quarterly (4x/year) | Yes |
| Visual inspection | Quarterly | Yes |
| Mounting bolt check | Bi-annual | Yes |
| Inverter health check | Annual | Yes |
| Thermal imaging scan | Annual | Yes |
| Cable insulation test | Annual | Yes |
| Earth resistance test | Annual | Yes |
| Performance report | Annual | Yes |
| Priority service calls | As needed | Yes |
| Spare parts | As needed | Additional cost |
AMC Cost Benchmarks
| System Size | Typical Annual AMC Cost | Per kW Cost |
|---|---|---|
| 1-5 kW (residential) | ₹3,000-6,000 | ₹800-1,200/kW |
| 5-20 kW (small commercial) | ₹8,000-20,000 | ₹600-1,000/kW |
| 20-100 kW (commercial) | ₹15,000-60,000 | ₹500-800/kW |
| 100-500 kW (industrial) | ₹50,000-2,00,000 | ₹400-600/kW |
ROI of AMC
The math is simple: a well-maintained system generates 15-20% more energy over its lifetime than a neglected one. For a 10kW residential system generating ₹1.2 lakh/year in savings, the 15% improvement is worth ₹18,000/year — far more than the AMC cost of ₹8,000-12,000/year.
DIY vs. Professional Maintenance
What You Can (and Should) Do Yourself
- Monthly generation monitoring via inverter app
- Visual inspections from the ground
- Basic panel cleaning (if roof is safely accessible)
- Checking for unusual sounds
- Monitoring for new shading sources (tree growth, construction)
- Keeping the inverter area clean and ventilated
What Requires a Professional
- Thermal imaging scan
- I-V curve testing
- Electrical insulation testing
- Earth resistance measurement
- Inverter board-level diagnosis
- DC connector retorquing
- Mounting structure repairs
- Any work involving DC cabling (risk of arc flash)
Important safety note: Solar panels generate DC electricity whenever light falls on them — they cannot be "switched off" during the day. DC electricity at the voltages present in a solar system (300-600V) is extremely dangerous. Never attempt electrical work on a solar system without proper training, equipment, and isolation procedures.
Tristar's Maintenance Packages
Tristar offers three tiers of maintenance support designed to match different system sizes and owner preferences:
Essential Care
- Quarterly panel cleaning
- Annual professional inspection (all 8 tasks listed above)
- Priority service call response
- Annual performance report
- Best for: Residential systems (1-10 kW)
Premium Care
- Bi-monthly panel cleaning
- Semi-annual professional inspection
- 24/7 remote monitoring with proactive alerts
- Priority service call response with same-day commitment
- Detailed quarterly performance reports
- Best for: Commercial systems (10-100 kW)
Industrial Care
- Monthly panel cleaning
- Quarterly professional inspections
- 24/7 remote monitoring with real-time alerting
- Dedicated account manager
- 4-hour emergency response guarantee
- Comprehensive monthly performance and compliance reports
- Best for: Industrial systems (100 kW+)
All packages include digital maintenance logs accessible through our customer portal, ensuring complete documentation for warranty claims and regulatory compliance.
Your 25-Year Maintenance Calendar at a Glance
| Task | Jan | Feb | Mar | Apr | May | Jun | Jul | Aug | Sep | Oct | Nov | Dec |
|---|---|---|---|---|---|---|---|---|---|---|---|---|
| App monitoring | M | M | M | M | M | M | M | M | M | M | M | M |
| Visual check | M | M | M | M | M | M | M | M | M | M | M | M |
| Sound check | M | M | M | M | M | M | M | M | M | M | M | M |
| Panel cleaning | Q | Q | Q | Q | ||||||||
| Hotspot check | Q | Q | Q | Q | ||||||||
| Bolt tightness | Q | Q | Q | Q | ||||||||
| Cable check | Q | Q | Q | Q | ||||||||
| Pre-monsoon prep | A | |||||||||||
| Post-monsoon cleanup | A | |||||||||||
| Full annual inspection | A |
Legend: M = Monthly, Q = Quarterly, A = Annual/Seasonal
The March annual inspection timing is deliberate — it ensures your system is in peak condition for the high-generation summer months (March-May) and gives you time to address any issues before the monsoon season.
Start Protecting Your Investment
Your solar system is working hard for you every day. A small investment of time and attention ensures it keeps working at its best for 25 years.
- Download the checklist: Save this page as a reference for your maintenance schedule
- Calculate your savings at risk: Use our Solar Calculator to see what 15-20% lost generation means in rupees
- Set up professional maintenance: If you prefer expert care, explore Tristar's AMC packages
Contact Tristar to set up an AMC or schedule your annual inspection — whether your system was installed by us or another vendor, our technicians can keep it performing at its peak.
Tristar Green Energy Solutions has been maintaining solar installations across Tamil Nadu since 2013. Our maintenance framework is built on 10+ years of field experience across 500+ installations — from coastal Chennai to industrial Coimbatore to rural Thanjavur. We know what Tamil Nadu's climate does to solar systems, and we know how to prevent it.
Ready to Go Solar?
Get a personalized solar quote based on your electricity consumption and roof area.
Related Articles
Tristar 25-Year Warranty vs Market Standards
Decoding solar warranty types — product, performance, and workmanship — and understanding fine print gotchas that could void your coverage. Learn what Tristar's comprehensive warranty package includes.
Solar Panels During Cyclone Season: Protection Guide for Coastal TN
Living on Tamil Nadu's coast means cyclone preparedness is essential. Learn how to protect your solar panels during cyclone season, what wind ratings matter, and insurance considerations.
Solar Inverter Noise: Fan vs Electrical Faults Guide
Strange sounds from your solar inverter can indicate anything from a dusty fan to a serious electrical fault. Learn to identify normal vs abnormal inverter noises, common error codes, and when to call a professional.