On This Page
Your solar inverter has been quietly humming along for months, and suddenly it sounds different. Maybe it is louder than usual. Maybe there is a new clicking sound. Maybe it is making a high-pitched whine that was not there before. Or worse, complete silence on a sunny afternoon when it should be producing power.
Inverter noises are one of the most common concerns we hear from solar system owners in Tamil Nadu. The good news: most noises are either normal operation or minor issues with simple fixes. The bad news: some sounds indicate serious electrical faults that need immediate professional attention.
This guide will help you distinguish between the two — so you know when to relax, when to schedule maintenance, and when to call your installer immediately.
Normal Inverter Sounds: What You Should Expect
Before diagnosing abnormal sounds, it helps to understand what a healthy inverter sounds like.
The Morning Startup Sequence
Every grid-tie inverter goes through a startup sequence when sunlight reaches the panels in the morning:
- Soft click (6:00–6:30 AM): The inverter detects DC voltage from the panels and begins its wake-up process
- Brief humming (lasting 30–90 seconds): The inverter performs its self-test and anti-islanding check before synchronizing with the grid
- Fan spin-up (if applicable): Inverters with active cooling fans will start the fan as internal temperature rises
- Steady, quiet hum: Once synchronized, the inverter produces a gentle electrical hum from its transformer and inductors. This is normal and should be barely audible from 2 meters away.
During Peak Generation (10 AM – 3 PM)
- Fan running continuously: On sunny days when the inverter is processing 70–100% of its rated capacity, cooling fans run at medium to high speed. This produces a noticeable but not loud sound — comparable to a desktop computer fan.
- Gentle buzz: The transformer inside the inverter vibrates at the grid frequency (50Hz in India). A mild buzz, especially at high loads, is completely normal.
Evening Shutdown
- Fan slowing and stopping: As generation decreases in the evening, the fan gradually slows
- Click: The inverter disconnects from the grid when DC voltage drops below its operating threshold
- Silence: The inverter enters sleep mode
Acceptable Noise Levels
A normally operating residential inverter (3–10kW) should produce:
- At idle: Less than 25 dB (barely audible)
- At peak operation: 30–45 dB (quiet conversation level)
- With fan at full speed: 40–50 dB (comparable to a refrigerator)
If you can hear your inverter clearly from inside your house with windows closed, it may be louder than normal.
Abnormal Sounds and What They Mean
Loud or Unusual Buzzing / Humming
Sound description: A buzzing or humming that is noticeably louder than the first few months of operation. It may have a vibrating or resonant quality.
Possible causes:
- Loose mounting: The most common and most benign cause. If the inverter mounting bracket or the wall it is mounted on has loosened, the inverter's normal vibrations are amplified. Check that all mounting bolts are tight and the wall is solid.
- Loose internal connections: Vibrations can gradually loosen cable connections at the DC or AC terminals. This is a more serious cause because loose connections generate heat.
- Transformer saturation: Occurs when grid voltage is slightly higher than nominal (common in areas with voltage fluctuations). The inverter's transformer core saturates magnetically, causing it to vibrate more loudly. This is usually harmless but indicates inconsistent grid conditions.
Action: Check mounting first. If mounting is solid, check that DC and AC cable connections at the inverter terminals are tight. If buzzing persists, schedule a service visit — do not ignore it for more than a week.
Repeated Clicking
Sound description: Regular clicking every few seconds or minutes, often accompanied by the inverter display showing connection/disconnection cycles.
Possible causes:
- Grid instability: The most common cause in rural and semi-urban Tamil Nadu. When grid voltage or frequency fluctuates outside the inverter's acceptable range (typically 180–270V for single-phase), the inverter disconnects for safety. When voltage returns to range, it reconnects. Rapid fluctuations cause repeated clicking.
- Relay cycling: The inverter's internal relay is switching between grid-connected and island modes. Frequent cycling indicates either grid problems or a failing relay.
- Arc fault detection (on advanced inverters): Some newer inverters have arc fault detection that trips when it detects potential DC arc faults. This can sometimes be triggered falsely by poor cable connections.
Action: Check your home's voltage using a multimeter at the inverter location during clicking episodes. If voltage is swinging below 180V or above 270V, the issue is grid-side — contact TANGEDCO. If voltage is stable and clicking continues, the inverter relay may be failing and needs professional diagnosis.
High-Pitched Whine
Sound description: A high-frequency sound, almost like a mosquito or a singing capacitor. It may come and go with generation levels.
Possible causes:
- Capacitor whine (coil whine): Electronic capacitors in the inverter's DC-DC converter can vibrate at audible frequencies under certain load conditions. This is relatively common in budget inverters and is usually harmless but annoying.
- Failing capacitor: If the whine is new (was not present before), it may indicate a capacitor that is degrading. Capacitors have a finite lifespan (typically 7–10 years) and are often the first component to fail in inverters.
- EMI/RFI interference: In rare cases, electromagnetic interference from nearby equipment can cause audible noise in the inverter.
Action: If the whine has been present since installation and does not change over time, it is likely harmless coil whine. If it is new or getting louder, schedule a professional inspection — a failing capacitor can cascade into more serious damage if not replaced.
Grinding or Rattling
Sound description: A mechanical grinding, rattling, or scraping sound, usually coming from the fan area of the inverter.
Possible causes:
- Fan bearing failure: This is almost always the cause. Inverter fans use small ball bearings that wear out over time, especially in dusty environments. The bearing surfaces degrade, causing the fan to wobble and scrape against its housing.
- Debris in fan: Insects, leaves, or dust buildup can obstruct the fan blades, causing rattling.
- Fan blade damage: A cracked or chipped fan blade creates an imbalanced rotation that sounds like rattling.
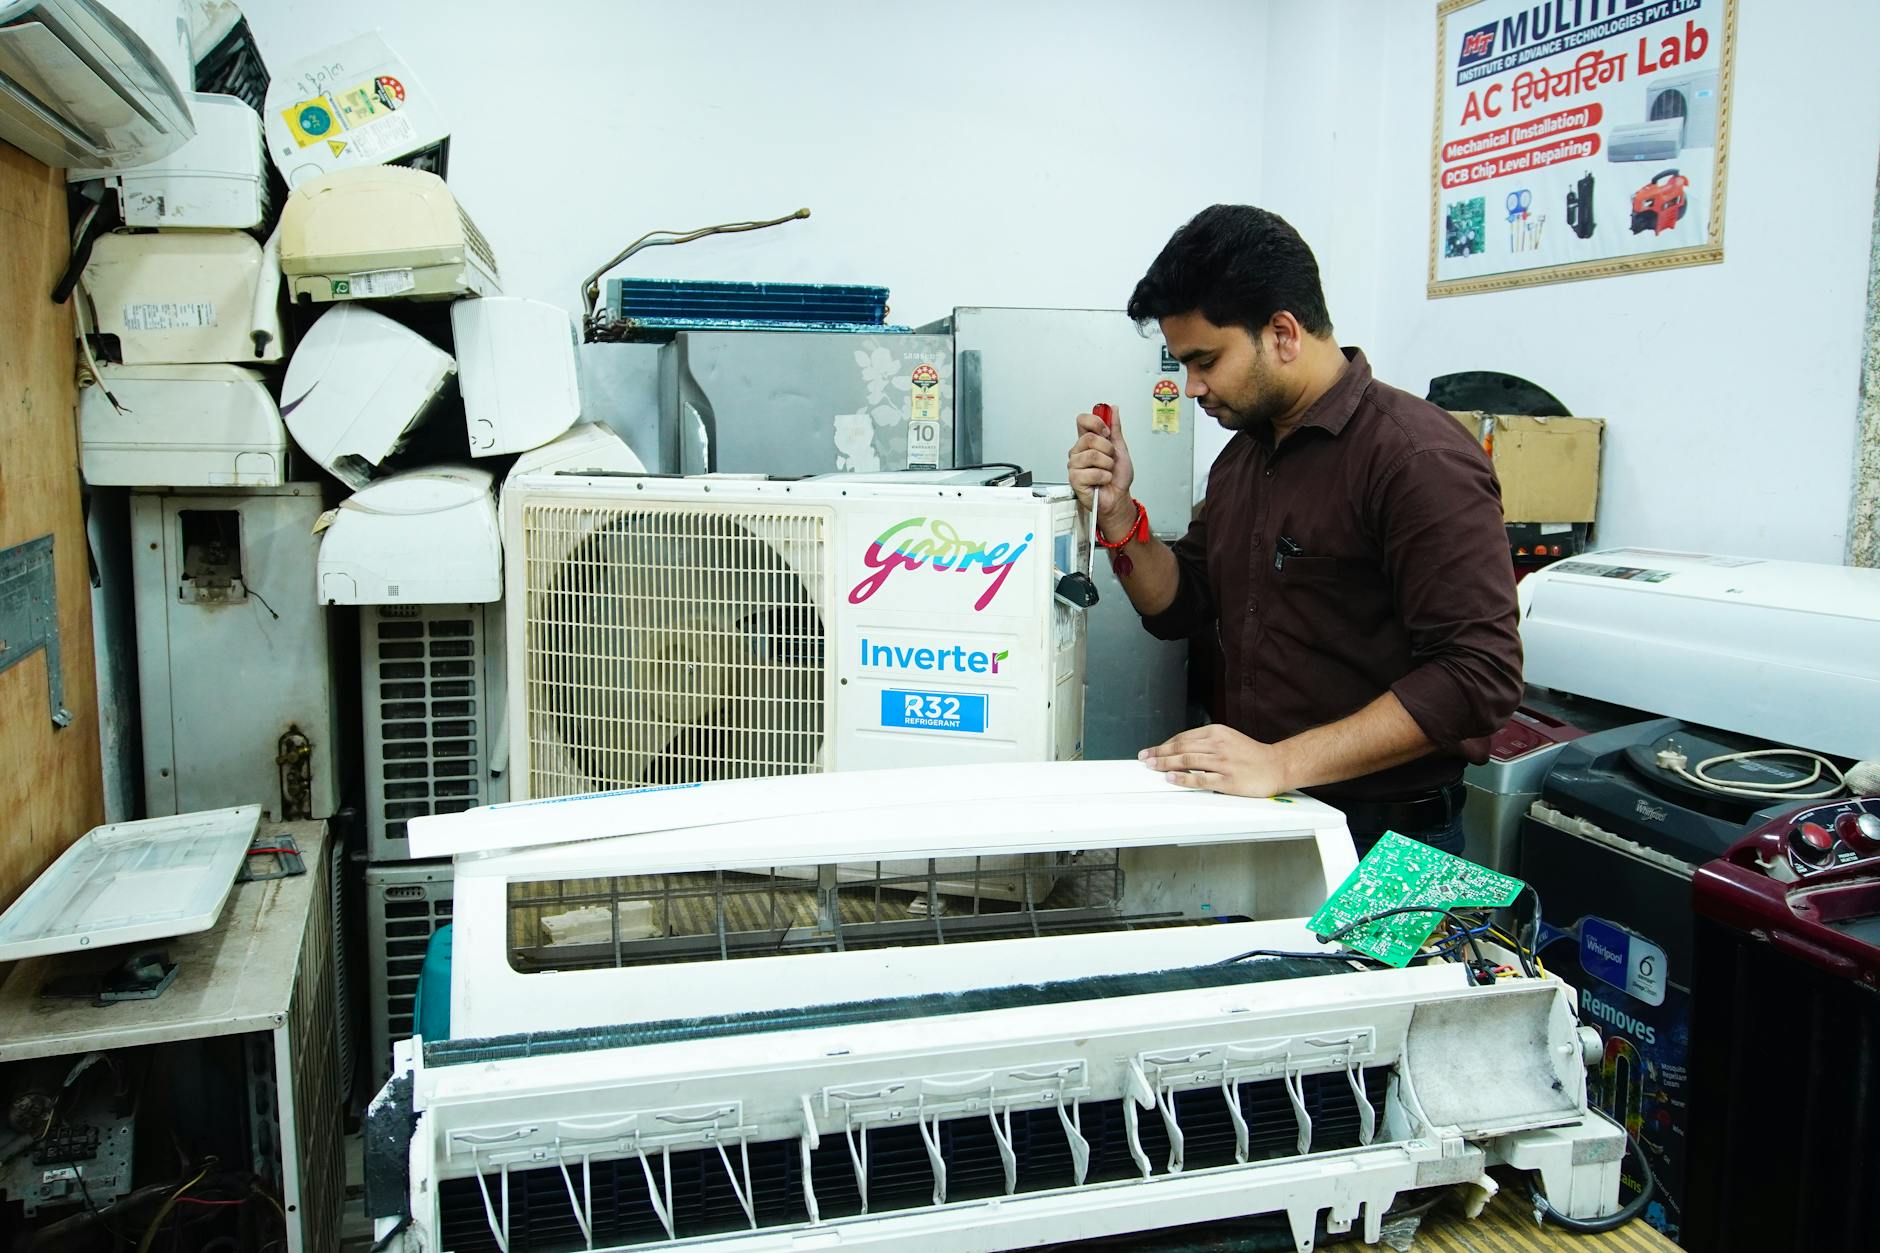
Action: This needs attention soon but is not an emergency. A failing fan will eventually stop spinning, which will cause the inverter to overheat and de-rate or shut down. Most inverter fans are replaceable parts that a technician can swap in 30 minutes. Do not attempt to replace the fan yourself while the inverter is operating.
Complete Silence on a Sunny Day
Sound description: No sound at all — no hum, no fan, nothing. The inverter display may be blank or showing an error code.
Possible causes:
- Inverter shutdown due to fault: The inverter has detected a fault condition and shut down completely. Check the display for error codes.
- DC disconnect tripped: The DC isolator switch between the panels and inverter may have tripped. Check that it is in the ON position.
- AC circuit breaker tripped: The AC breaker feeding the inverter may have tripped. Check your distribution board.
- Grid failure: During a power outage, grid-tie inverters shut down by design (anti-islanding protection). This is normal behavior, not a fault.
- Panel issue: If all DC cables are disconnected or damaged (e.g., by rodents), the inverter receives no input and stays off.
Action: Check the display first. If it shows an error code, refer to the error code section below. Check DC and AC disconnects. If the grid is down, wait for power to return — the inverter will restart automatically. If everything looks normal but the inverter remains off, call your installer.
Fan Noise: When to Clean vs When to Replace
Inverter fans are the most maintenance-prone component and the most common source of noise complaints.
When to Clean (Every 6 Months)
- Fan is louder than usual but still spinning smoothly
- Visible dust buildup on the fan grille or vent openings
- Generation is normal (no overheating de-rating)
Cleaning method:
- Turn off the inverter using the DC isolator first, then the AC breaker
- Wait 5 minutes for capacitors to discharge
- Use compressed air to blow dust out of the fan grille and vent openings
- Use a soft brush to clean the grille mesh
- Restart the system (AC breaker first, then DC isolator)
When to Replace
- Grinding or scraping sound from the fan
- Fan is visibly wobbling
- Fan has stopped spinning entirely (check by looking through the vent grille during operation)
- Inverter is overheating and de-rating despite clean vents
Do not attempt to oil or lubricate inverter fans — they use sealed bearings that are not designed for field lubrication. Replacement fans are available for most inverter brands and are relatively inexpensive (₹500–1,500).
Common Error Codes on Popular Inverters
When your inverter displays an error code, here is what it means for the most common brands installed in Tamil Nadu:
Growatt Inverters
| Error Code | Meaning | Severity |
|---|---|---|
| E001 | No AC grid connection | Check AC breaker |
| E002 | Grid voltage out of range | Wait or contact TANGEDCO |
| E003 | Grid frequency out of range | Usually temporary |
| E008 | DC voltage too high | Check panel string configuration |
| E011 | Over-temperature | Check ventilation, clean fans |
| E024 | Leakage current fault | Call installer — possible earthing issue |
Solis Inverters
| Error Code | Meaning | Severity |
|---|---|---|
| 100 | Grid overvoltage | Temporary, monitor |
| 101 | Grid undervoltage | Temporary, monitor |
| 200 | DC overvoltage | Check string configuration |
| 300 | Overtemperature | Improve ventilation |
| 500 | Isolation fault | Call installer immediately |
| 600 | Leakage current fault | Call installer immediately |
Goodwe Inverters
| Error Code | Meaning | Severity |
|---|---|---|
| E-01 | Grid fault | Check grid voltage |
| E-02 | DC insulation fault | Call installer |
| E-05 | Over-temperature | Check cooling |
| E-08 | GFCI fault | Call installer — ground fault |
| E-10 | Grid voltage out of range | Usually temporary |
Delta Inverters
| Error Code | Meaning | Severity |
|---|---|---|
| W100 | Grid voltage warning | Monitor, usually clears |
| E200 | DC overvoltage | Check panel configuration |
| E300 | Internal overtemperature | Improve cooling |
| E500 | Earth fault | Call installer immediately |
Note: Always photograph the error code and the inverter display before resetting. This helps your installer diagnose the issue remotely.
DIY Checks Before Calling Your Installer
Before scheduling a service visit, perform these basic checks:
1. Dust Buildup
Look at the air intake and exhaust vents. If they are clogged with dust (very common in construction areas and near roads in Tamil Nadu), the inverter may be overheating. Clean the vents with compressed air or a soft brush.
2. Ventilation Clearance
The inverter needs at least 300mm of clear space on all sides for airflow. Check that nothing has been placed near the inverter — stored items, construction materials, or plants growing close to it.
3. DC Cable Connections
Visually inspect the DC cables running from the panels to the inverter. Look for any signs of damage — rodent bites (common in Tamil Nadu), loose MC4 connectors, or cables rubbing against sharp edges. Do not touch DC cables while the sun is shining — they carry high voltage.
4. AC Connection
Check that the AC breaker for the solar system in your distribution board has not tripped. Reset it if tripped, and monitor whether it trips again.
5. Temperature
Touch the inverter casing briefly with the back of your hand. It should be warm during operation but not painfully hot. If you cannot keep your hand on it for more than 2 seconds, the inverter is overheating.
When to Call Your Installer Immediately
Some situations require immediate professional attention. Do not attempt DIY fixes for these:
Burning Smell
Any burning smell from the inverter — whether electrical, plastic, or chemical — means something is overheating dangerously. Turn off the DC isolator immediately (this is the red switch near the inverter or on the roof near the panels), then turn off the AC breaker. Do not restart the system. Call your installer.
Discoloration or Melting
If you see any brown, black, or melted spots on the inverter casing, cables, or connectors, shut down the system immediately using the DC isolator and AC breaker. This indicates a thermal event that could lead to fire.
Water Ingress
If water has entered the inverter (visible moisture inside the display cover, water marks, or condensation inside the unit), shut down and call your installer. Water and high-voltage DC electricity are an extremely dangerous combination.
Sparking
Any visible sparking at cable connections or inside the inverter requires immediate shutdown and professional service.
Repeated Fault Codes After Reset
If the same error code appears repeatedly after resetting the inverter, the fault is persistent and needs professional diagnosis. Do not keep resetting — some faults (like insulation breakdown) can become more dangerous with repeated restart attempts.
Preventive Measures: Installation Best Practices
Many inverter noise and fault issues can be prevented with proper installation:
Location Selection
- North-facing wall preferred (avoids direct afternoon sun)
- Covered or shaded area — a simple roof overhang or shade structure prevents direct sun exposure
- Away from dust sources — do not install near driveways, construction areas, or areas with heavy foot traffic
- Accessible height — install at eye level (1.5–1.7m) for easy monitoring and maintenance
- Away from living areas — even normal inverter noise can be bothersome if the inverter is on a shared bedroom wall
Ventilation Requirements
- Minimum 300mm clearance on all sides
- No enclosed cabinets unless specifically designed with forced ventilation
- Ensure the wall behind the inverter does not absorb and radiate excessive heat (avoid dark-colored walls in direct sun)
Cable Management
- All DC cables should be run in UV-resistant conduit
- MC4 connections should be properly crimped (not just pushed together)
- Cable runs should avoid sharp edges and be secured with proper clips
- Rodent-proof conduit is recommended for areas with known rodent activity
Tristar's Inverter Maintenance Service
At Tristar Green Energy Solutions, inverter maintenance is part of our annual maintenance contract (AMC) for all installed systems. Our maintenance service includes:
- Bi-annual inspection: Physical inspection of inverter, cables, and connections
- Fan cleaning and testing: Compressed air cleaning of all vents and fan speed testing
- Thermal imaging: We use thermal cameras to detect hot spots at cable connections before they become failures
- Error log review: We download and analyze the inverter's error log to identify intermittent issues
- Firmware updates: We apply manufacturer firmware updates that improve performance and fix known bugs
- Performance verification: We compare actual generation against expected output and investigate any shortfall
If your inverter is making unusual noises or showing error codes, contact our service team for a diagnostic visit. We service all major inverter brands including Growatt, Solis, Goodwe, and Delta across Tamil Nadu.
Use our solar savings calculator to see how much generation you might be losing to inverter issues — and how quickly professional maintenance pays for itself.
Tristar Green Energy Solutions provides installation and maintenance services for solar systems across Tamil Nadu. Our service team is trained on all major inverter brands and carries common replacement parts for same-day repairs.
Ready to Go Solar?
Get a personalized solar quote based on your electricity consumption and roof area.
Related Articles
Solar Maintenance Checklist | Tristar 25-Year Guide
A well-maintained solar system generates 15-20% more energy over its lifetime than a neglected one. Follow Tristar's comprehensive maintenance framework — monthly, quarterly, and annual tasks — to ensure your system delivers peak performance for 25 years.
Solar Panels During Cyclone Season: Protection Guide for Coastal TN
Living on Tamil Nadu's coast means cyclone preparedness is essential. Learn how to protect your solar panels during cyclone season, what wind ratings matter, and insurance considerations.
Solar Maintenance | Coastal TN Salt-Air Corrosion
Protecting your solar investment from salt-air corrosion along Tamil Nadu's 1,076 km coastline — material selection, maintenance schedules, and Tristar's coastal installation standards.